When we visit a WarmForm installation site we often share techniques and installation experience with the installer to try to get them off on a strong start with the work. In our posting of videos from our recent visit to a WarmForm installation in upstate NY I mentioned we would post some tips and hints we shared with our installer in NY. Here they are!
Cut the WarmForm edge elements cleanly:
Our installer in NY had a jobsite circular saw on hand. The blade depth usually will not be enough to cut through 4″ element foam in a single pass, but it does cut quickly and neatly, if not with copious foam dust. If you are more inclined to hand saw the elements, you may consider using an angle grinder for scoring and cutting through the cement coating. A 2×4 clamped to the element, or just held in place by hand can give you a guide to run the grinder against. With a diamond cutting blade the grinder will go right through the cement coating and leave you just the foam to cut by hand (wear eye protection and mask!).
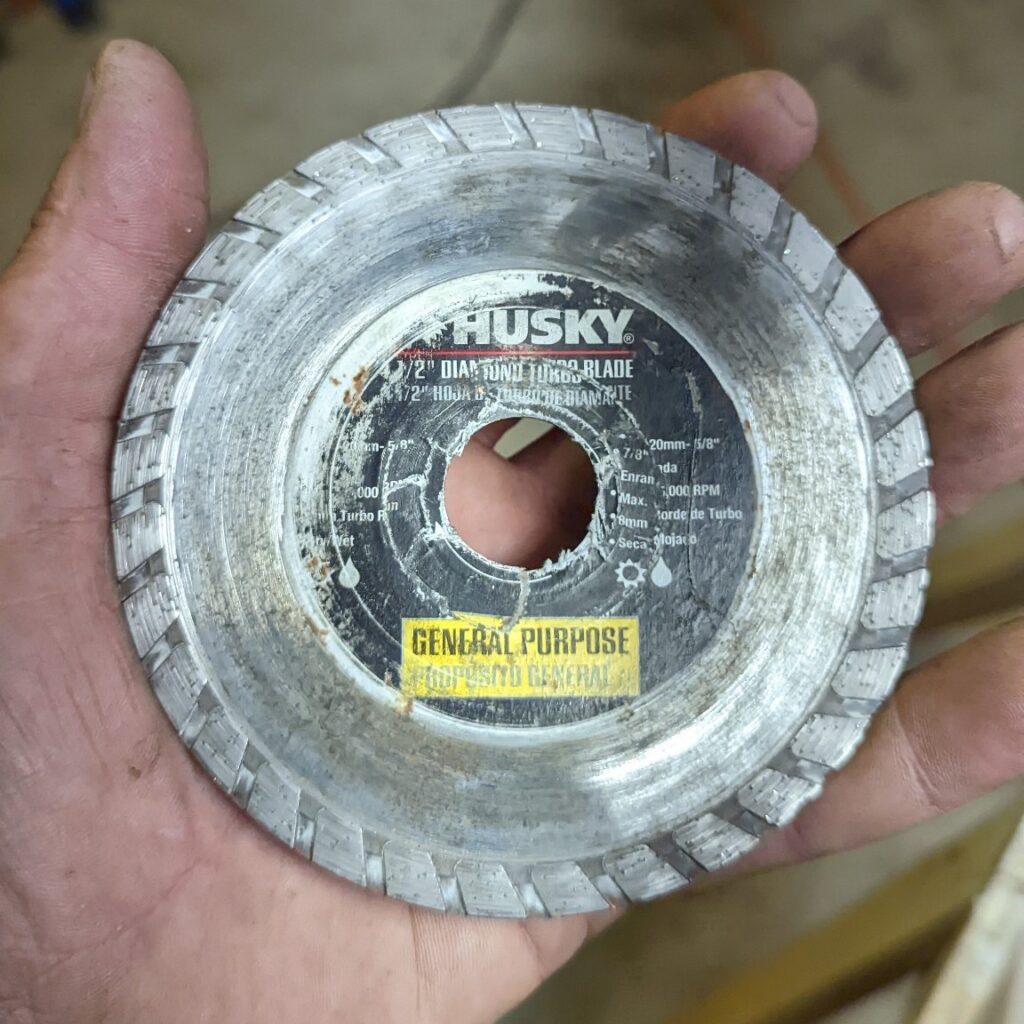
general purpose diamond cutting wheel
Lay out your grade beam width with a spacer:
When using our stock size perimeter forms grade beams can be up to 20″ in width. This width is determined by the placement of the second layer of center foam. The space between the inside vertical face of the edge elements and the start of the second layer of foam gives you the grade beam width. To set that width you can snap a chalk line on top of the vapor barrier, or draw a line with a marker and a long straight edge, but the fastest way is to use a piece of center foam to cut a spacer equal to the width of the grade beam. Put the spacer against the inside face of the edge element, and then butt your second layer center foam against it and spike it in place – perfect every time.
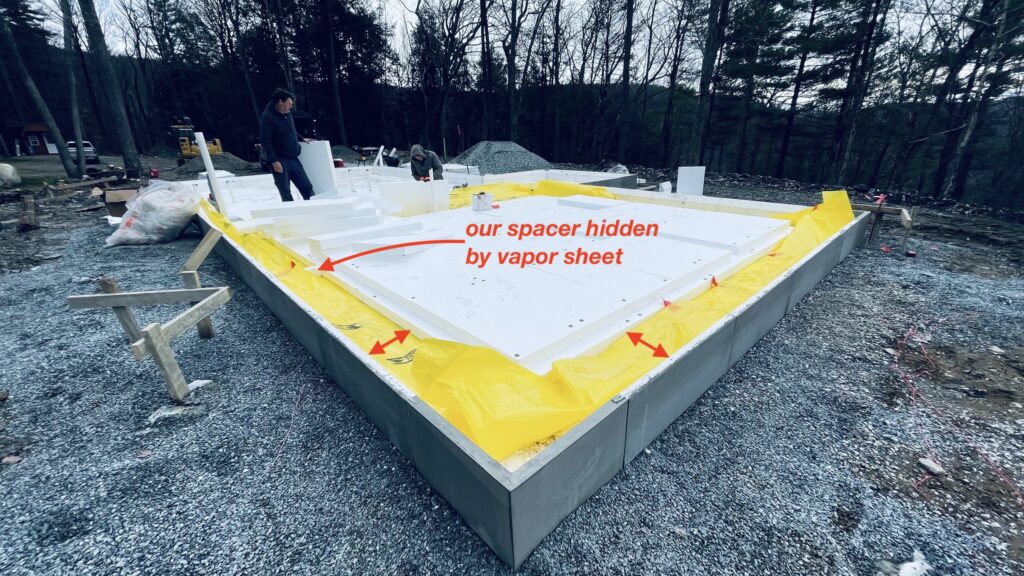
use a spacer to set the width of the grade beam
Use a Radiant Heat tubing stapler:
In Sweden every home has radiant heating, the best way to heat any home and the most comfortable way to spend any winter is with warm feet! In Sweden the radiant tubing is always fastened to the top layer of foam with dedicated racks that make installing the tubing easy and fast. In the US we typically are not installing radiant heating over foam, so we have gotten into the habit of wiring our radiant heating tubes to the wire mesh slab reinforcement. Functionally there is nothing wrong with this, but it does take more time, and it does place your radiant tube closer to the concrete surface – ! caution ! – you do not want to hit those tubes when cutting control joints in the slab, or when fastening stud wall sill plates to the slab with nail guns. So, when using radiant heat with WarmForm we always recommend the installer put the tubing on top of the foam. Lacking the racks they use in Sweden we always point people to a tubing stapler that is made to fasten radiant tubing to the foam with barbed plastic staples. This is so much faster than twisting wire to the mesh, and pays for itself with a single install.
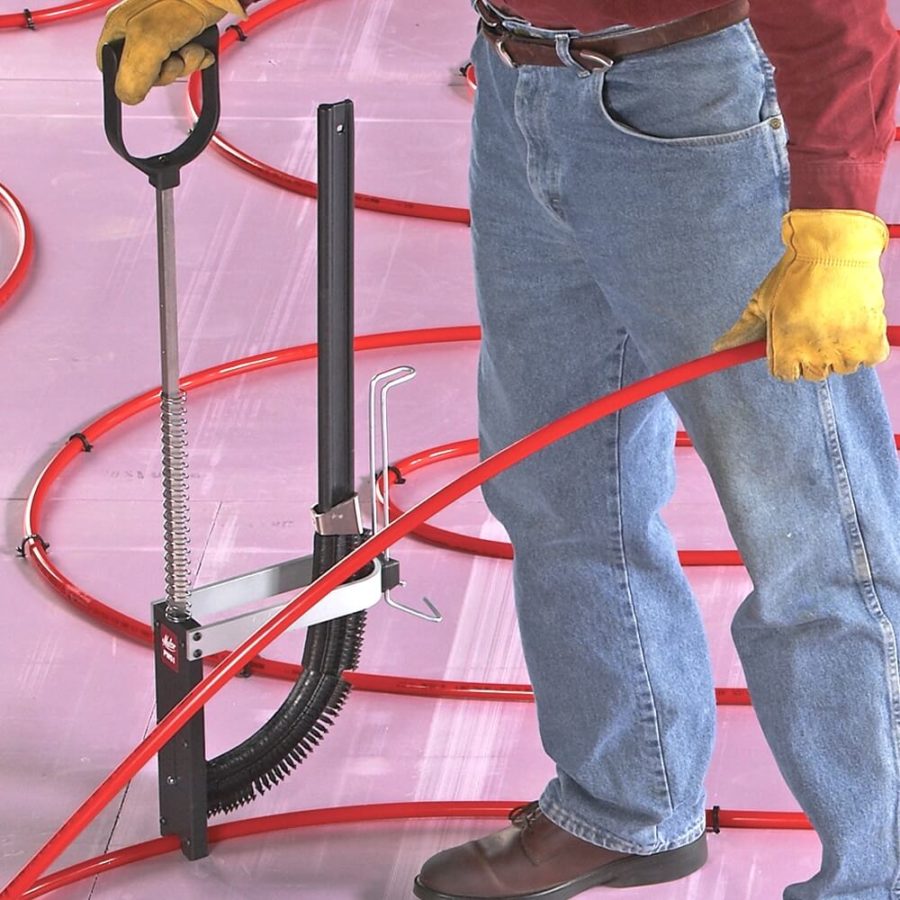
Malco tubing stapler
Trimming Edge Elements for inside corners:
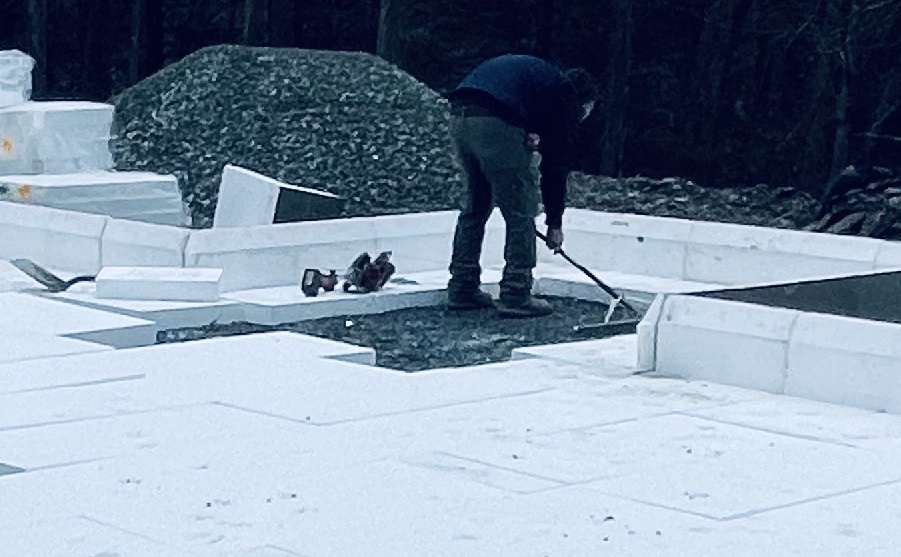
Lots of customers are surprised when they learn that there are no inside corner pieces for WarmForm. We make outside corners and many people assume that there must also be inside corner pieces. But no –– inside corners are simply formed by butting straight edges together. Quick, simple, and easy to do in the field. There are just a couple of things to keep in mind when you trim your pieces to form an inside corner.
Tip 1 – extend your edge element horizontal leg around the corner. Your grade beam will turn this corner as well, and you want to be sure that you have the higher density Type IX foam under it. So you can either make a corner leg out of the Type IX foam from your order, or trim your edge elements accordingly, letting the horizontal leg extend to the full depth of the adjacent side of the corner, and separately trimming the vertical leg to match the vertical leg coming in at 90deg.
Tip 2 – use your fastening hardware at the corner just as you do along the sides. That means one edge clamp at the top of the vertical leg spanning across the joint. And joining plates at the horizontal legs – you will need two if you have a separate piece filling in at the corner.
Making corners in your vapor sheet:
We recommend installing the vapor barrier sheet on top of the first layer of center foam. Thats because putting it here presents you with a flat level surface to roll out the membrane. You don’t have to worry about going up and down into the grade beams because the 2nd and 3rd layer of foam that forms them is not in place yet. When you get to the corners you need to neatly deal with the membrane to avoid getting a big “bunch-up” in the corner.
At outside corners making a neat fold is as easy as making a bed. You are going to do something called a “hospital corner“, just inside out, because you are not folding over a mattress, but into the corner.
At inside corners you actually will not have enough material to turn the corner, so you will have to cut the membrane and patch in a separate piece. Tape the edges of the patch well here to keep it all air tight.
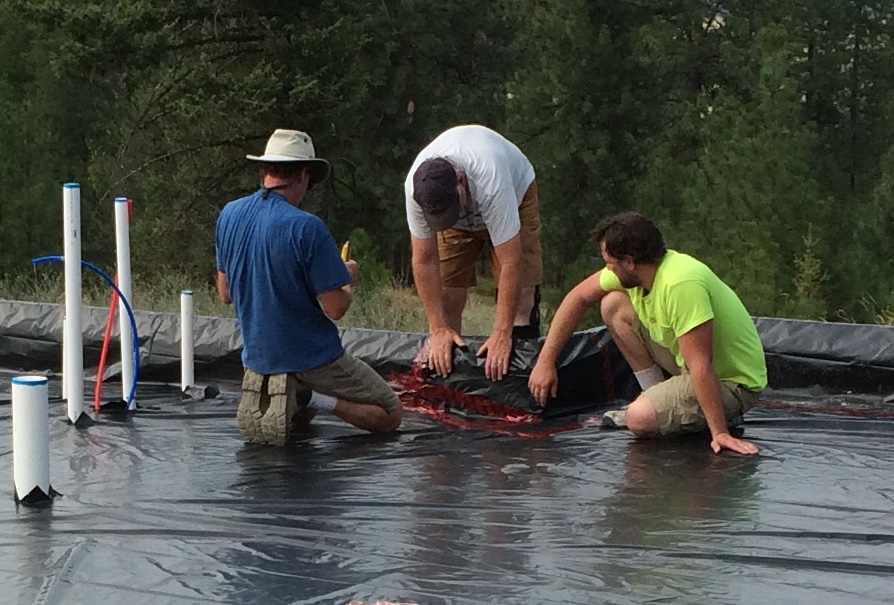
vapor sheet at inside corner – don’t use black poly during the summer if you don’t have to!

Leave a Reply
You must be logged in to post a comment.