Every once in a while us WarmForm people like to get out to see a customer installation. It helps us to see how customers are managing since the majority right now are installing WarmForm for the first time. We like to see what is coming easily to the customer, as well as what needs some explanation if any. Don’t get me wrong –– we know that WarmForm is easy to install. But these visits help us know what information we need to convey to customers, and how to improve our installation manual.
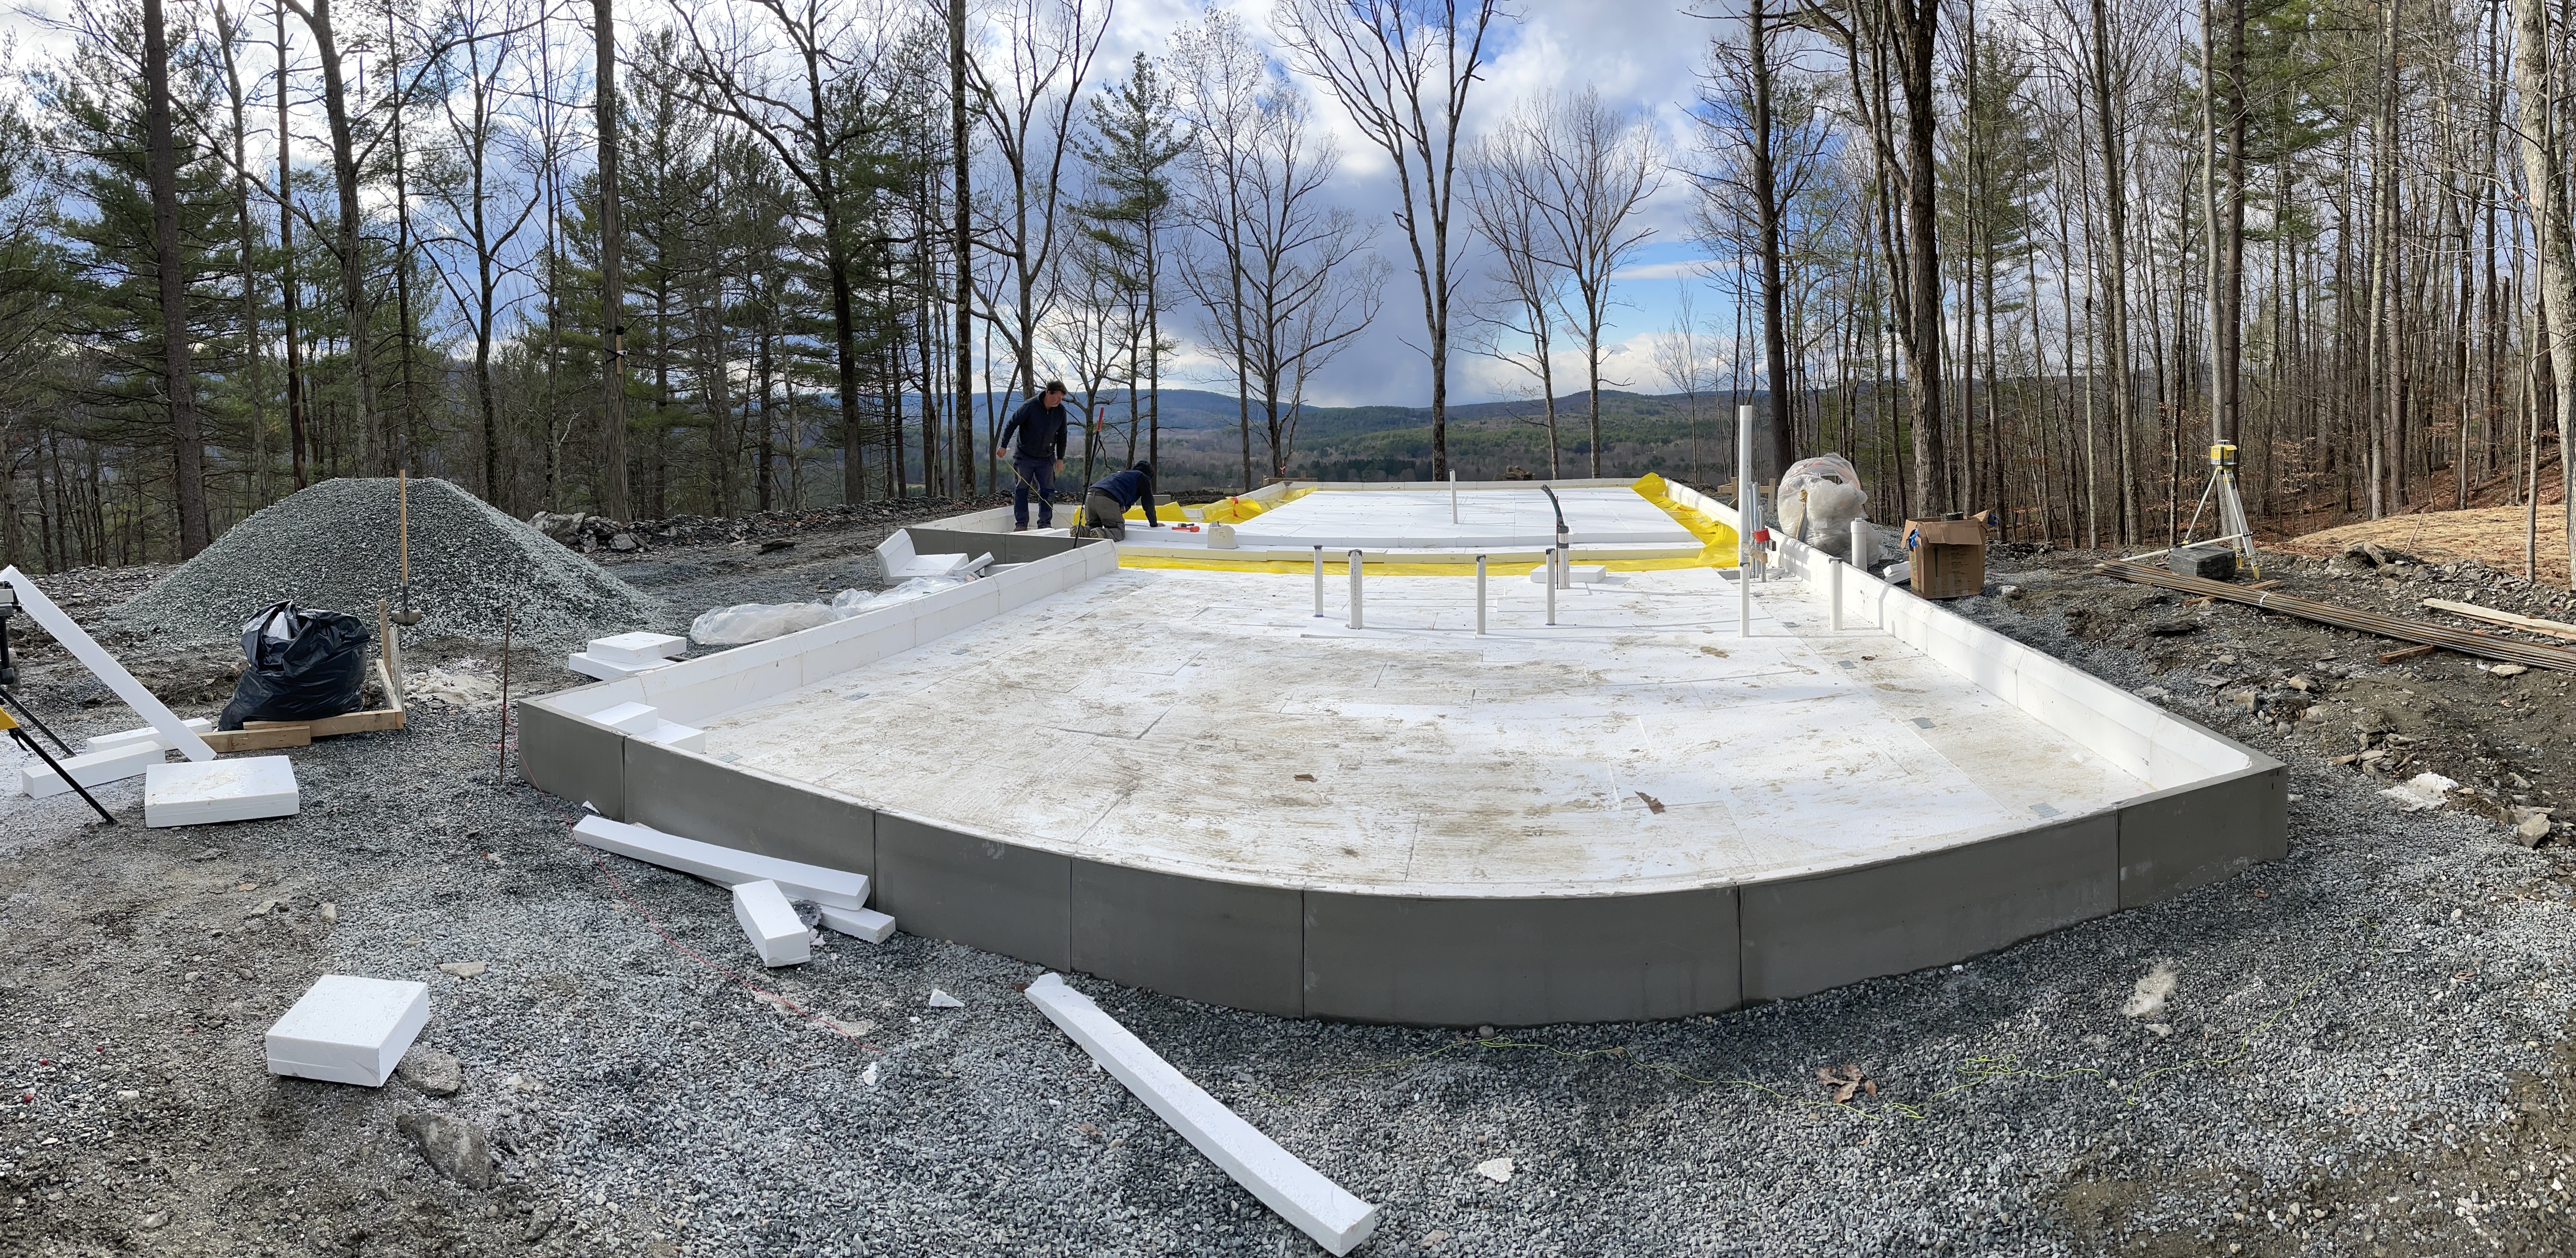
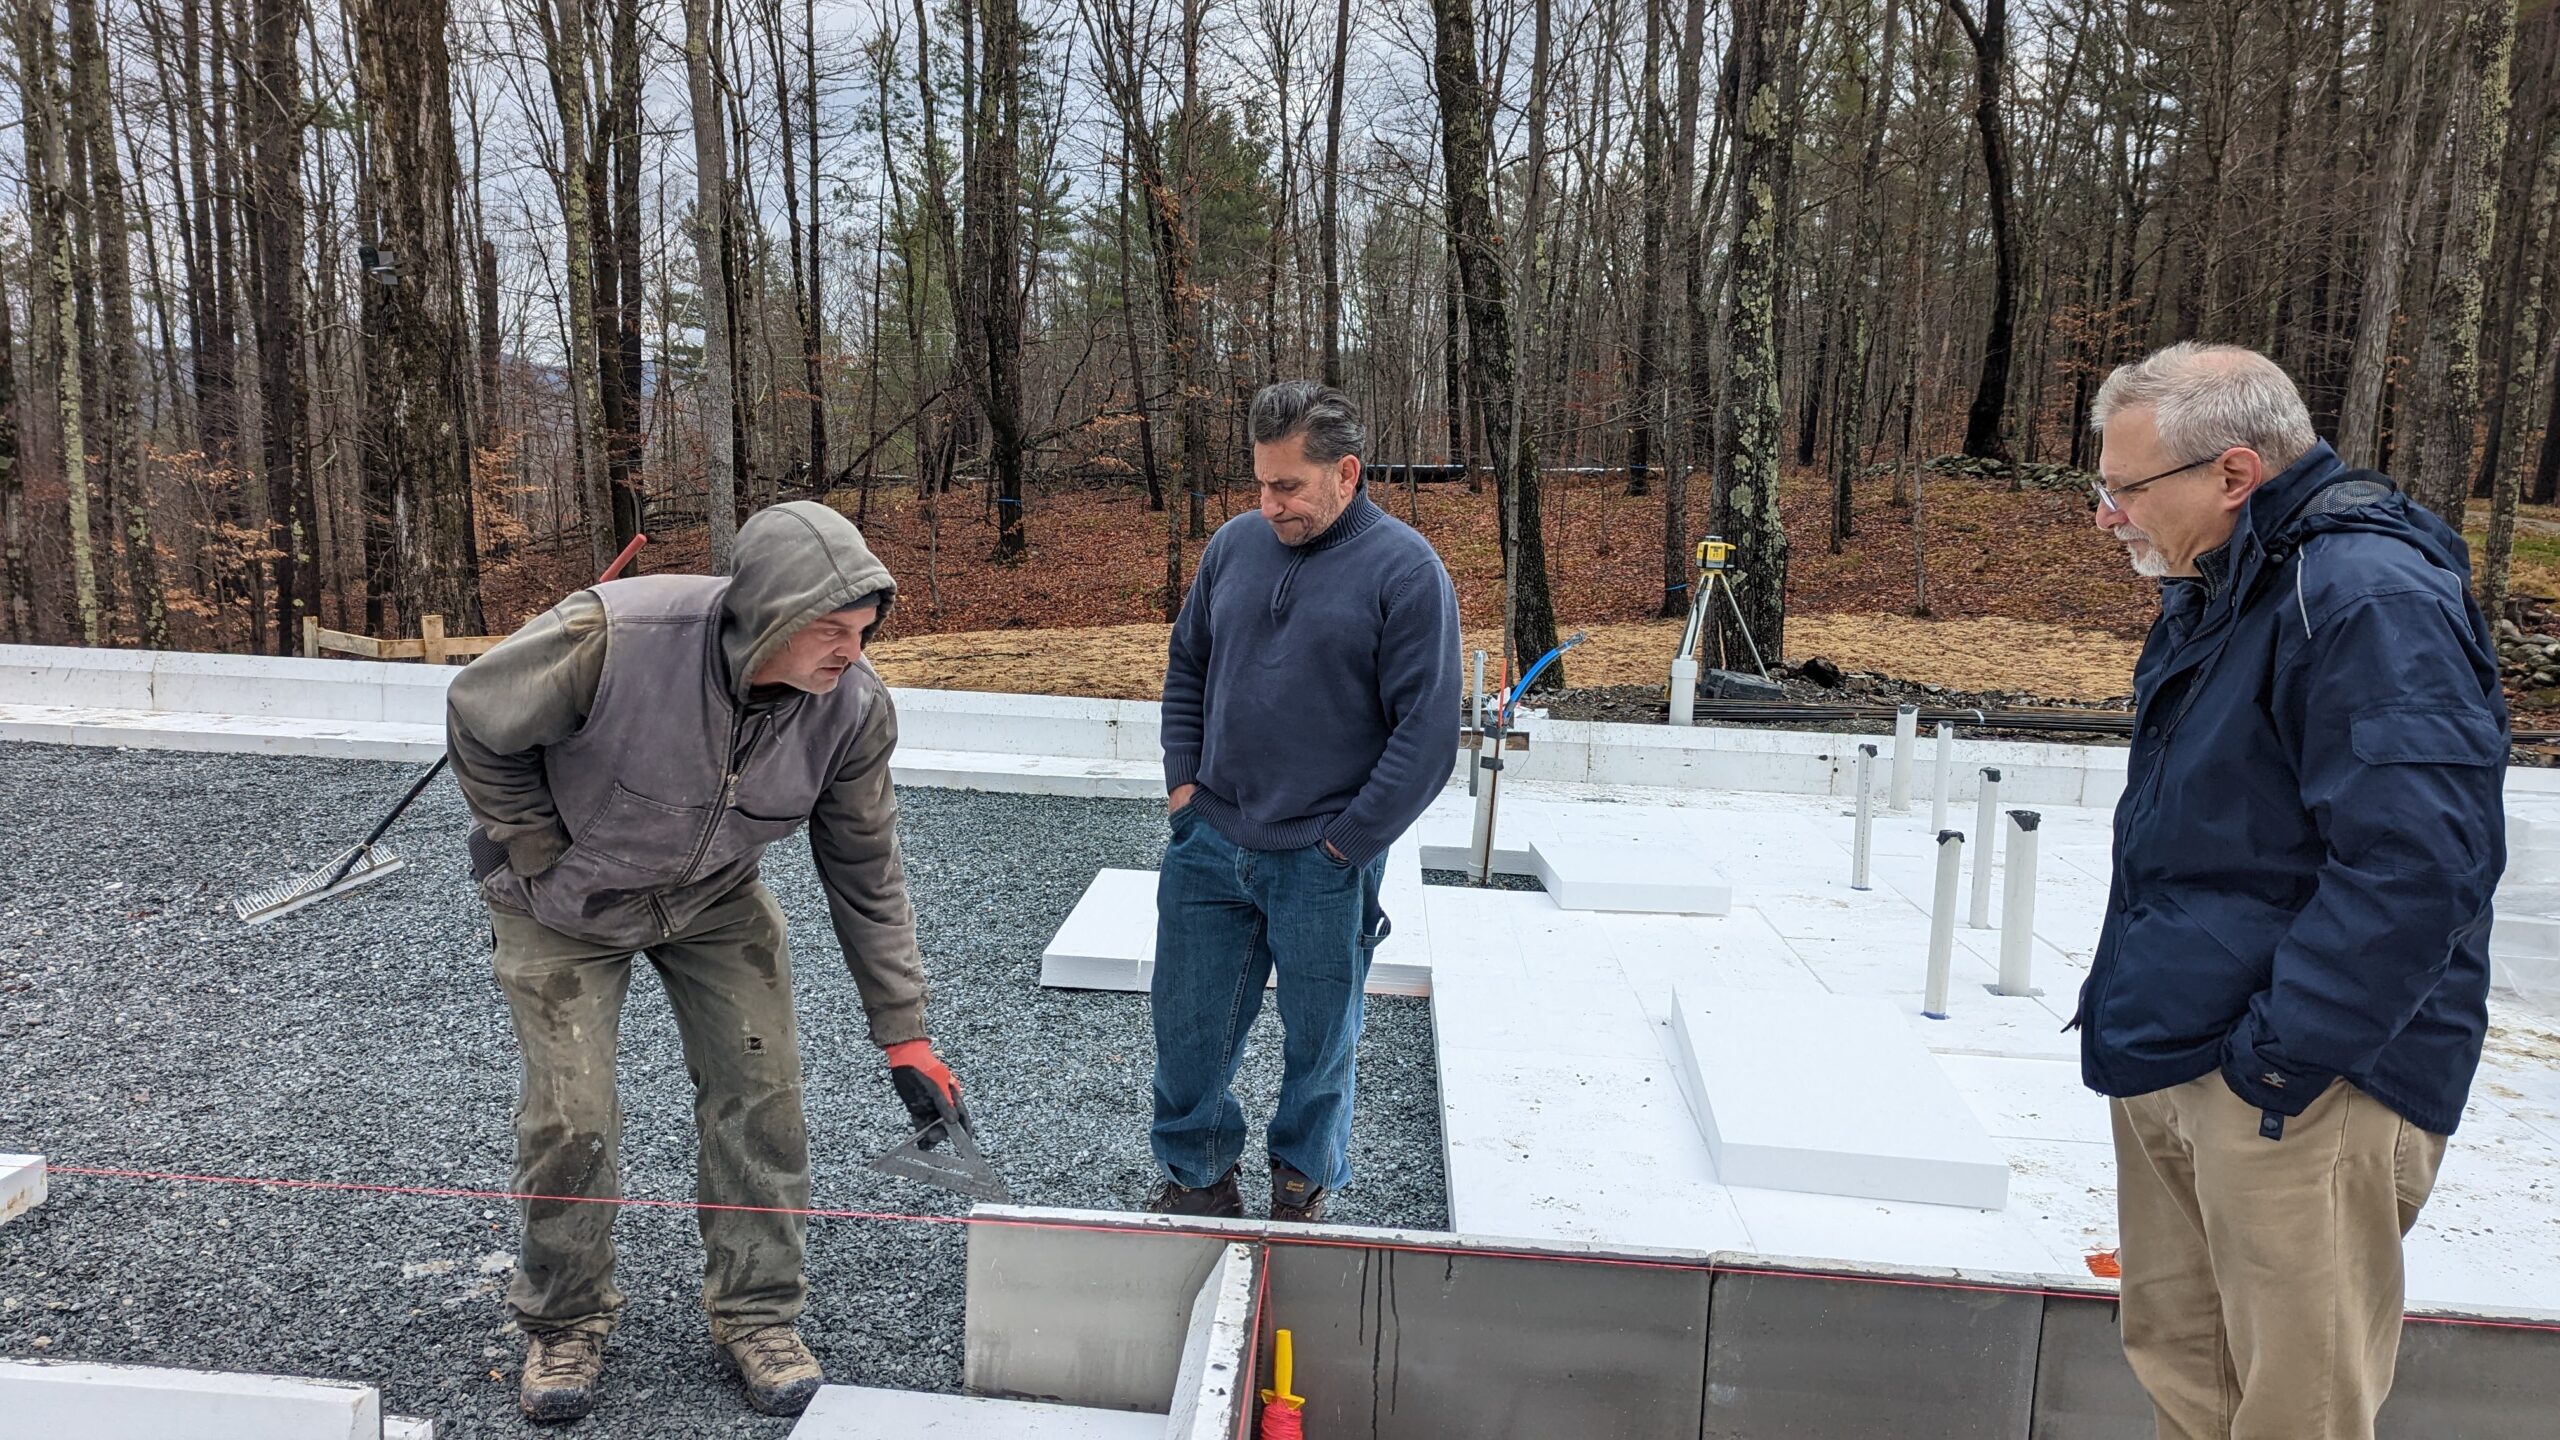
So in that spirit last week WarmForm principals Scott Hedges and myself, Greg La Vardera, headed out for New Lebanon, NY near the Massachusetts border to visit a customer job site and check on the installation progress. It was a grey cloudy day and we found ourselves on the top of a prominent bluff overlooking a farm filled valley and a stiff wind coming up the hill.
The builder had delegated the WarmForm installation to his trusty excavation and foundation sub-contractor, and as is typical this was their first experience installing WarmForm or any other Frost Protected Shallow Foundation. This was day 2 of the install, and most of the perimeter was set up and joined. We spent some time getting oriented with Nick the GC and Bill the lead from the sub-contractor. I had my back turned to Scott for about 3 minutes talking to Nick, and turned around to find him marshaling the forces to get the first center foam layer started!

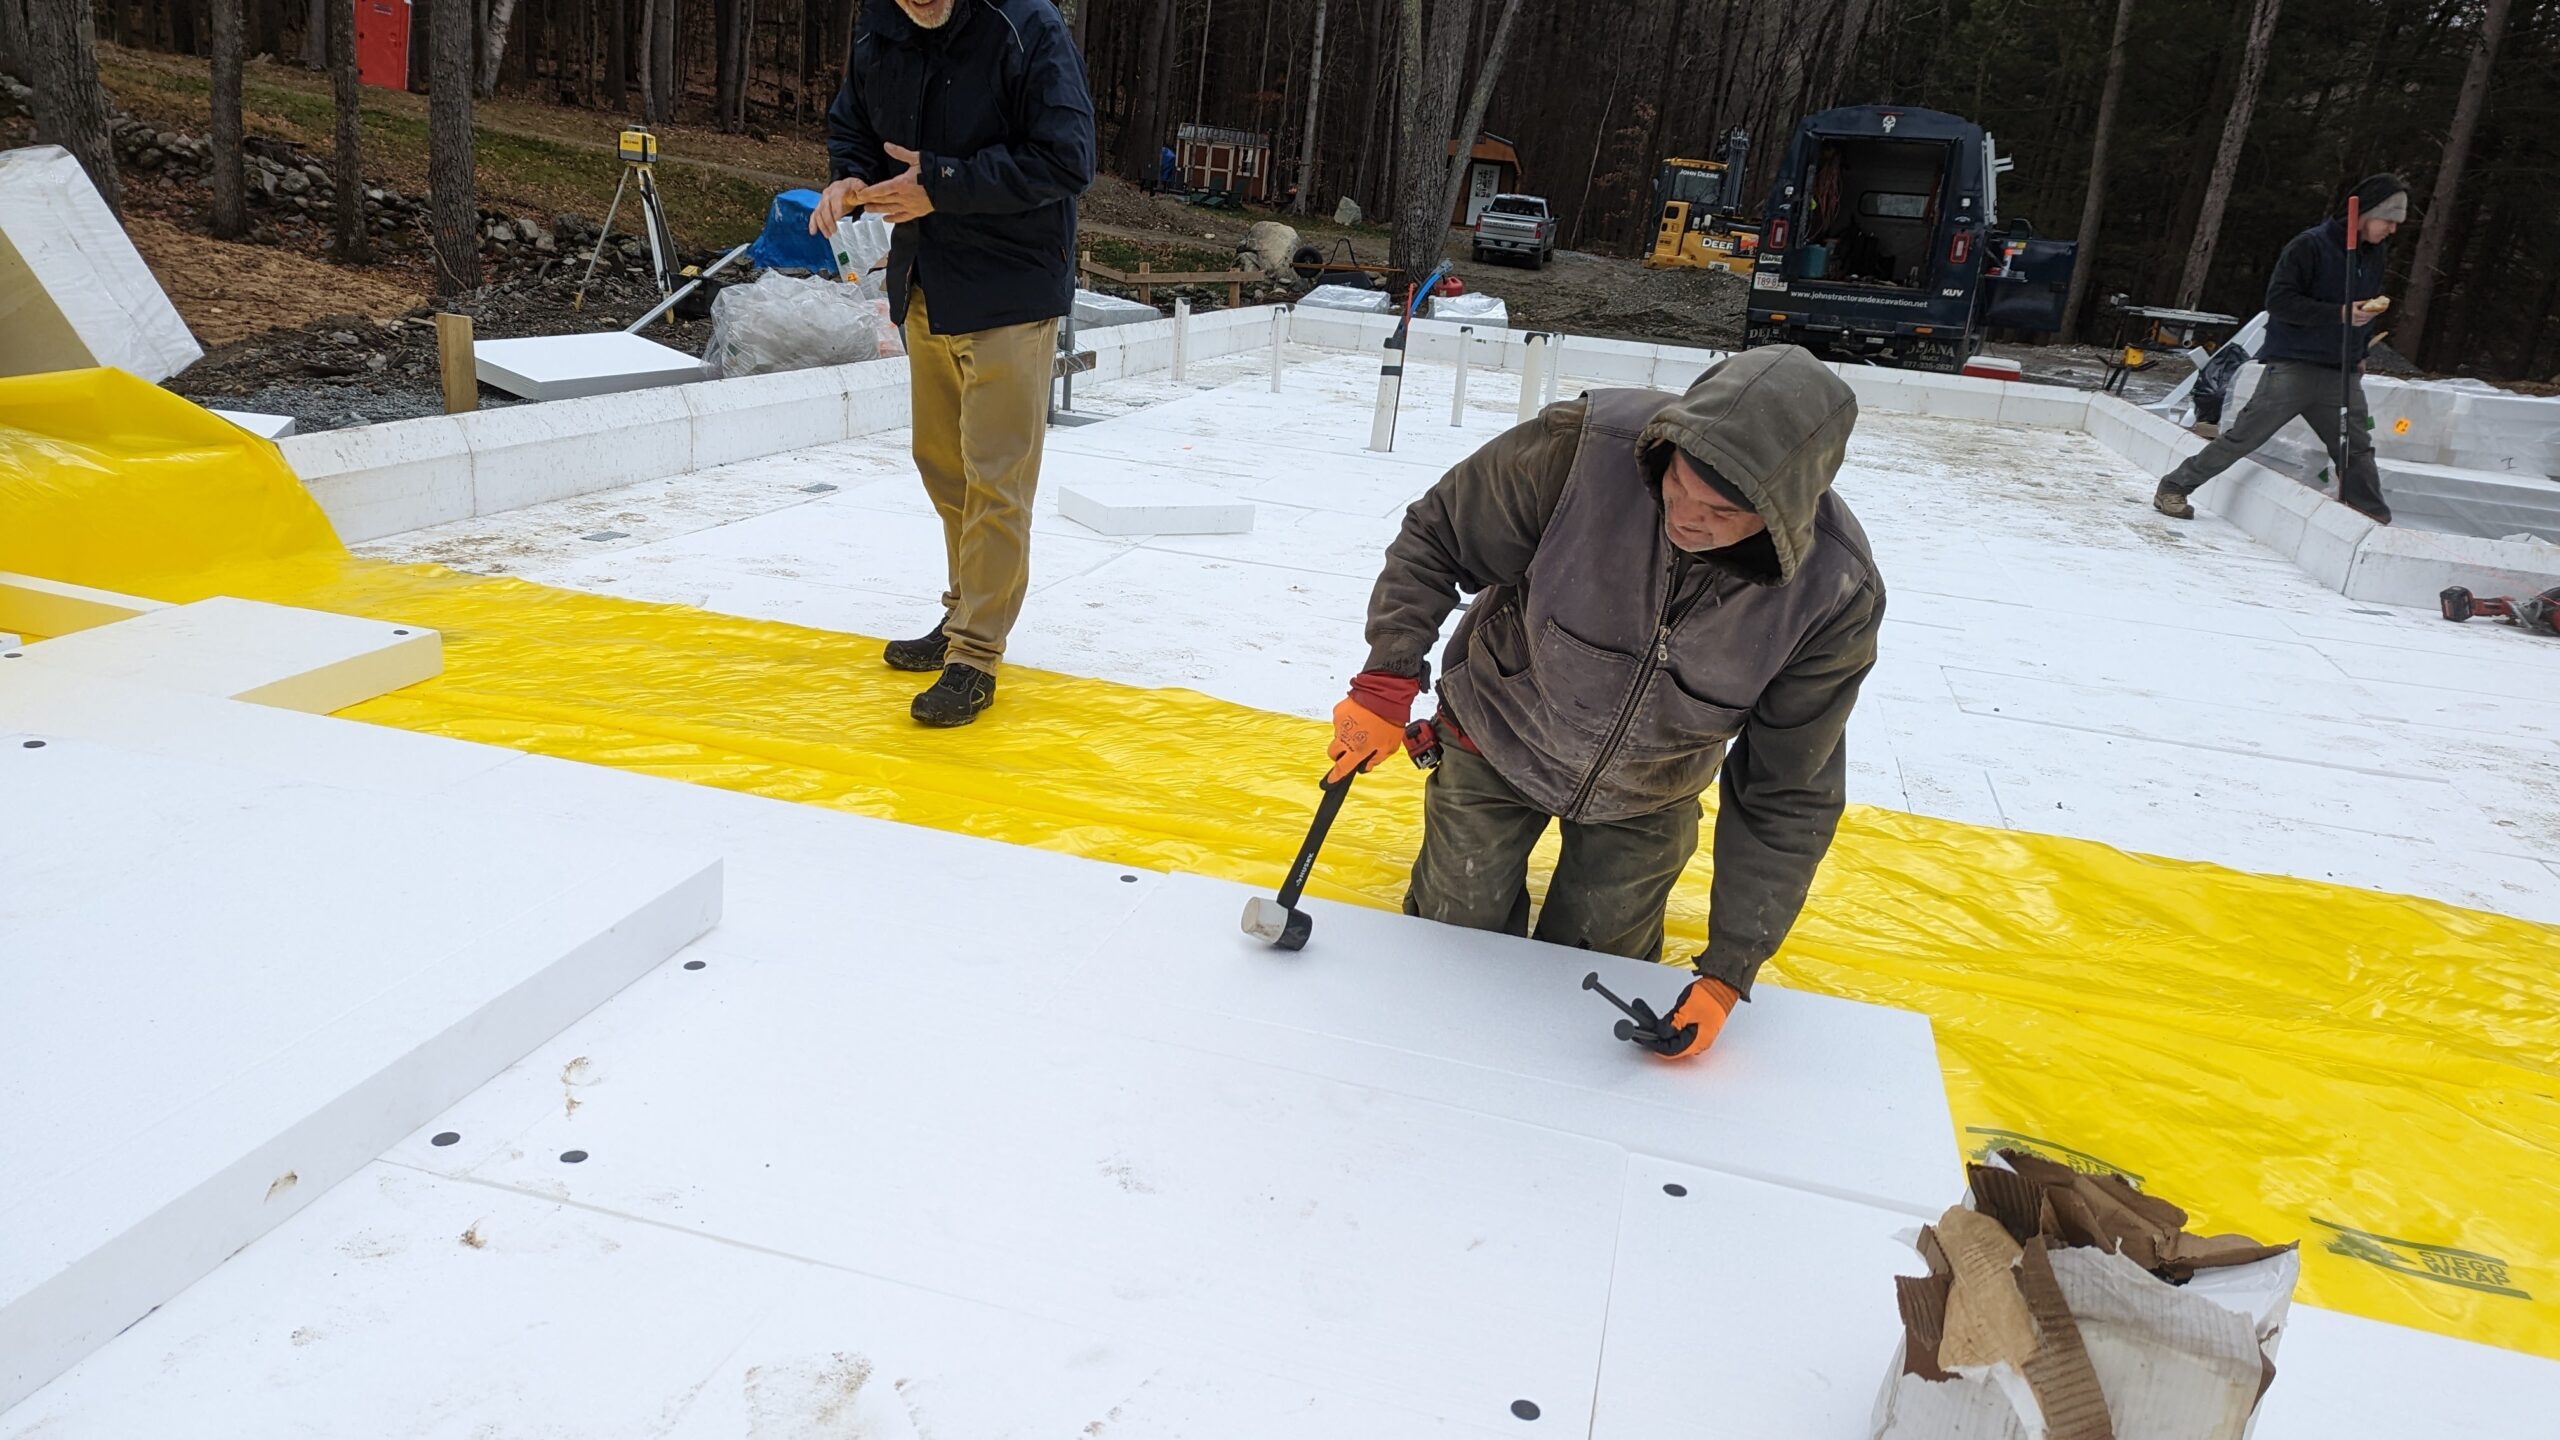
Working together we quickly completed the first layer of center foam, while the perimeter was finished, including the trimming of the edge pieces required for inside corners. People are often surprised that the WarmForm system includes outside corner pieces, but not inside corners. Inside corners are formed easily by butting two edges together and simply trimming them neatly.
With the first layer down it was time to get the vapor barrier sheet in place, and we came face to face with the wind. Typically we would recommend you layout all the vapor sheet first, finish the taping, and sealing around pipes, and wrap that all up before center foam layers 2 and 3 go in. But on this day the wind was threatening to roll up our vapor sheet as fast as we could lay it out, soo we made the decision to immediately install the second layer so that it would hold the vapor sheet in place.The next piece of vapor sheet went down and we followed with the center foam layers. Until the roll of vapor sheet was done and we had gone as far as we could for the day.

All in all the builder would go into day 3 with half the 2nd & 3rd layer center foam to install, and most of the internal grade beams to measure out, and all the piping to seal around. But more important they would have a good deal more confidence in the work they had left to do. For our part we got a good deal of insight into the advice and tips we were sharing to make their job easier. We will share those in a follow up post so keep reading here as we delve deeper into the install.
Full gallery of photos of this installation are here.

Leave a Reply
You must be logged in to post a comment.